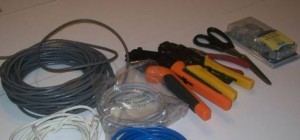
Tools and supplies needed for a network patch cord:
|
|
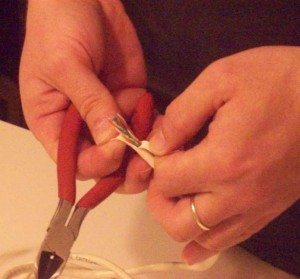
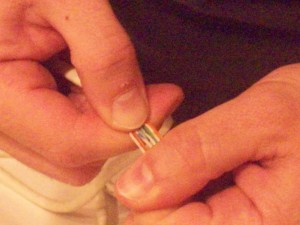
| Start by stripping the pvc cover off the twisted pairs cable. Remove about 3inches (7cm). | |
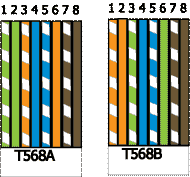
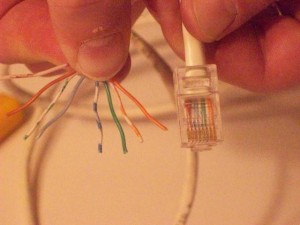
| Separate and untwist the wires. Arrange the wires in order using your favorite cabling standard. Use the same standard for both of your ends.
If you are redoing just one end make sure you are copying the other one, otherwise your patch cord will not work. |
|
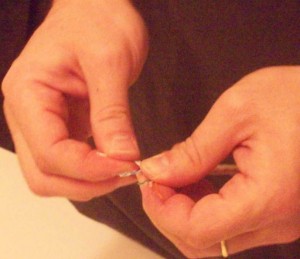
| Straighten the wires, making sure you keep them in order. It is very easy to mix the wires after putting them in order. If doing this feels painfully difficult, try to find RJ45 male connectors with guides for wires. The guides keep the wires in place and help you insert them into the connector. It is a real help for a beginner. |
|
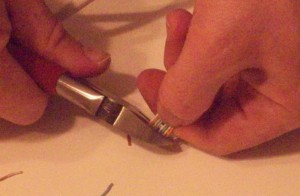
| Cut the wires just a little longer than the RJ45 connector. | |
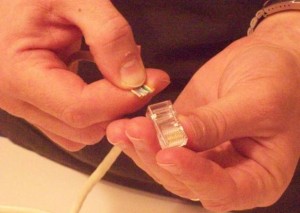
| Insert the wires into the connector ensuring that you keep them in the correct order. To keep the wires straight push up a little against the upper side of the connector while you slide them. This procedure helps you keep the wires aligned while inserting them. | |
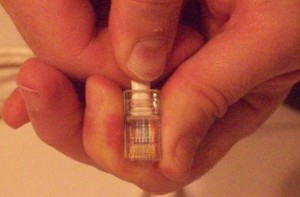
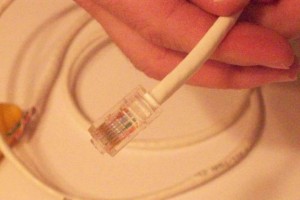
| When you reach the end of the connector the exterior jacket will be outside of the connector. Make sure you push a little more so that the jacket gets inside. at the time of the crimping the plastic indentation on the connector gets pressed on the exterior jacket, conferring the patch-cord more rigidity and resistance. If the jacket doesn’t get into the RJ45, the wires will be loose inside the connector. This will cause the wires to move and loosen up the point of insertion. | |
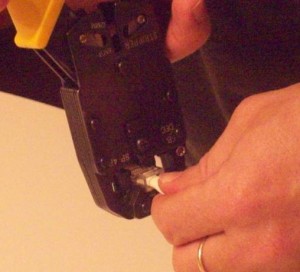
| Crimp the connector maintaining the wires and the cable jacket inside the connector. | |
| Inspect the cable, verifying that the wires are in the correct order. | |
| Proceed to the other end and untwist the wires. Maintain the same wires order. Redo the same operations as above. | |
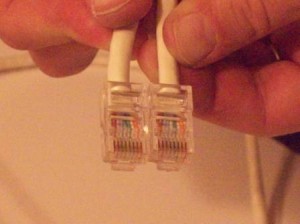
| Compare the two ends. Make sure they are identical. If they are not your cable will most likely not work. For a 100Mb network only two pairs are needed, the active wires are at the pins 1,2,3 and6. For a 1Gb network, all of the four pairs are needed. |
|
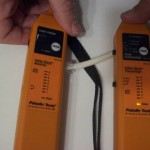
| Depending on the nature of your job you might need to use a cable tester. For a small network a simple continuity tester will be sufficient. The tester injects a signal on one end and it tests the signal at the other end. If the cable is correctly crimped all of the LED’s will light up in order. The shield LED might not light up if your connectors are not a shielded. For bigger networks you will need a more complex tester that can measure attenuation, cable length, and can even give you an overall result of the point to point capability. This type of testers can sum up the various aspects of a measurement and tell you if your segment qualifies for a CAT3 or CAT5 or CAT6 connection. |
